Happy weekend and upcoming week!

I was a bit preoccupied yesterday, what with it being my 25th birthday and all, to post the weekend links, so here it is - a day late...

On Monday morning at 8am, a group of friends and I fly out of Auckland to Melbourne, Australia for our annual Soundwave trip. So excited! This is the fourth year in a row that we've gone. Soundwave is a music festival, sort of like Big Day Out but with a different array of bands.

This year I will be seeing some of my favourite bands... Every Avenue, The Starting Line, New Found Glory, The Rocket Summer, There For Tomorrow and The Maine. I'm also going to see Millencolin, who I wouldn't consider to be a favourite, but I think they'll be really fun. They better play Ray. *shakes fist at sky* Aaaaand I will be seeing Third Eye Blind! So keen to see them. Will get to see them twice too.

I'll do a post about the bands and just our trip in general when I get back... there should be many macarons to post! Hehe!


So here's a few links for you to check out during the week...
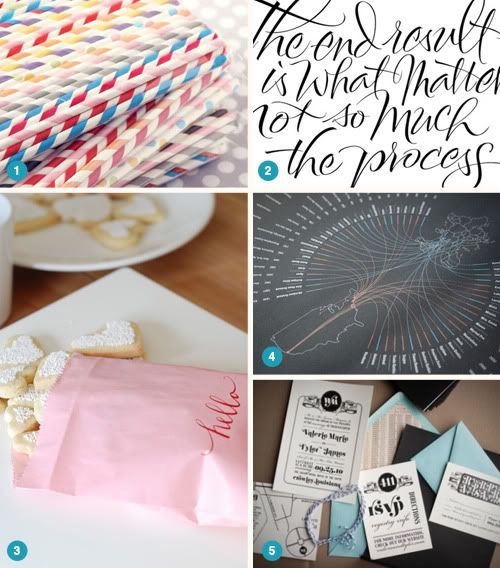
  1. Stripey paper straws are awesome, check out all of the other things from Shop Sweet Lulu too!
  2. Alan Ariail, aka the Alphabet Guy, does some stunning lettering, calligraphy and logo work.
  3. Adorable little heart cookies in DIY packaging
  4. Typefaces of the World
  5. A modern black and white wedding invitation suite
Have a great week everyone!

I heard your heart sing love, love, love.

As usual, I am crazy late with this... but... Happy belated Valentines Day everyone!

I've never really been that into Valentines Day. Just a marketing gimmick to sell stuff and all that. But I must admit, baking for Valentines Day is rather fun!

As I think I said in an earlier post, my boyfriend was away in Melbourne this Valentines Day, working on a stop motion TV ad. Because he couldn't be with me that day he sent me a gorgeous bunch of flowers (kicking myself for not taking a photo of them!) and a delicious cake.


I ended up spending Valentines Day evening with my flatmate Carly and my cousin Tyler, watching TV. It was a great girls night in!

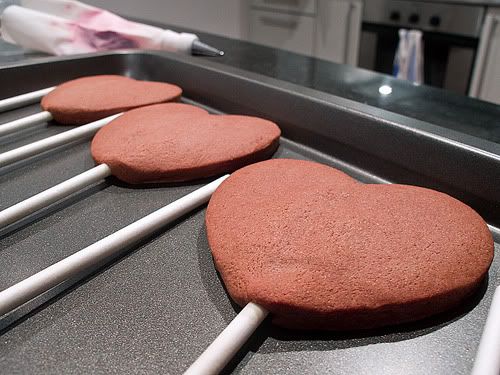
For the occasion I decided to make some COOKIE POPS! I'd never made cookie pops before so I just kind of winged it and they turned out awesome!


I made large heart chocolate sugar cookies (you can find the recipe in my post here) and I used some cookie pop sticks that I had from Millys. I actually made the cookies so big because of how thick the sticks were. They ended up far too big for my liking. Could be good if you were wanting to have fun large wedding cookie pop favours or something. But I think a bit smaller would have been a better. I'd have to use the smaller cake pop/lollypop sticks for smaller cookies.


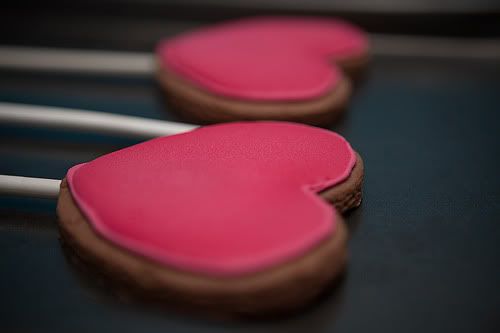
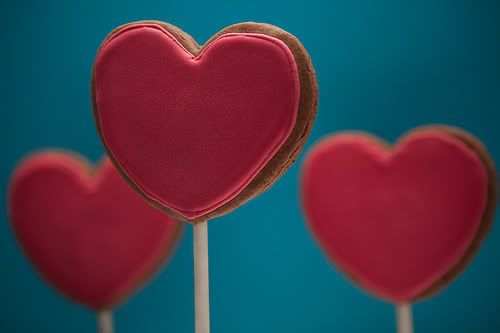
I made up some pink colour flow icing and piped the outlines on. I then thinned the rest of the colour flow with water and flooded the outlines once they had set.

Definitely need to work on my outlining skills. I wobble heaps! Haha. And I probably have to work on the flooding too. Might need to make it a little bit thinner first, cause it had a few little bumps which didn't merge back in with itself.


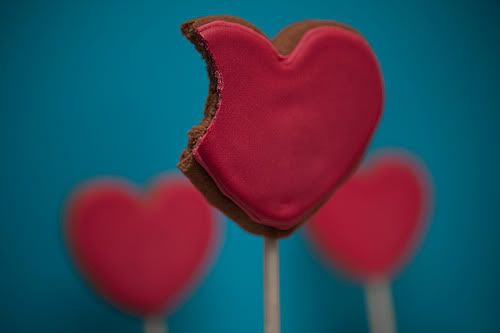
Pretty cute in the end though. Cookie pops are rather fun! They'd make fantastic favours and would look great on a dessert table. They're also super simple to do!

Time for a quarter life crisis?

Today, I turn 25 years old. Goodie.
Should I be panicking? 5 years away from 30! Oooohhhh.

It's alright, I'm not panicking. Getting older doesn't really phase me. Yet. Haha!

Anyway... I've been spoilt. Check out my amazing gifts from my boyfriend, Carly and Aishia!


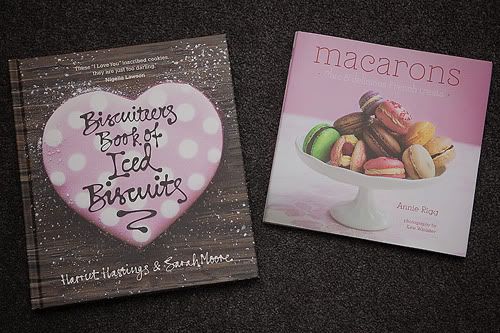
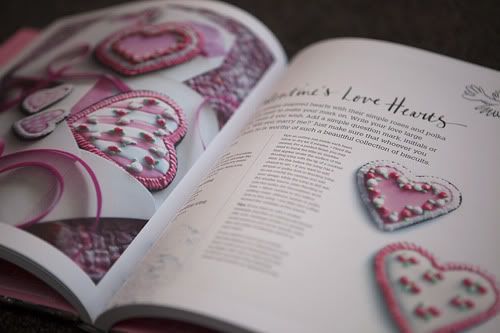
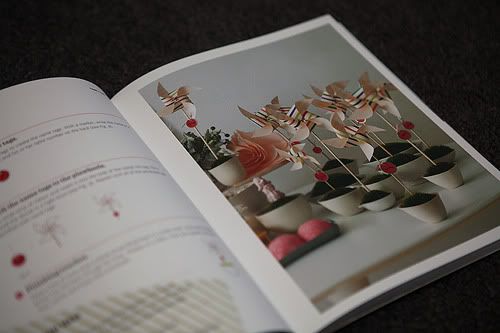
Biscuiteers Book of Iced Biscuits - Hook
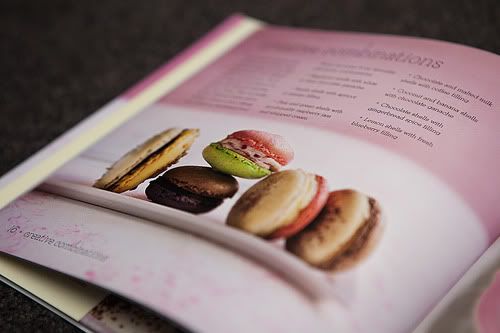
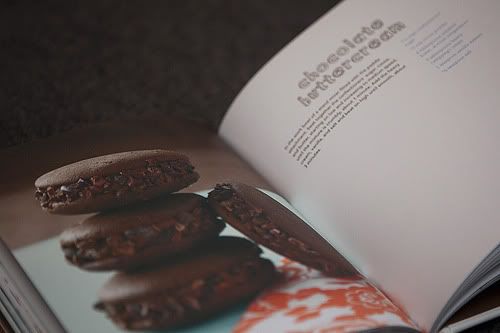
Macarons - Aishia


Cannot wait to try out some of the recipes from that Macaron book and the iced biscuit book has some fantastic tips and tricks!


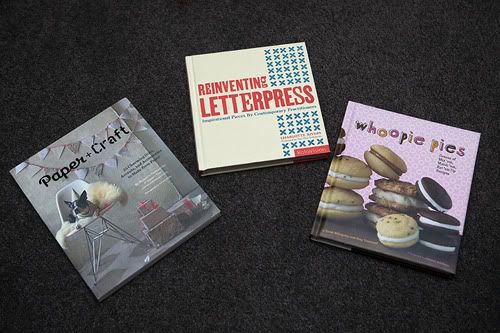
Paper + Craft - Hook
Reinventing Letterpress - Hook
Whoopie Pies
- Hook


I've never actually had a whoopie before, unless they are what I think they are (ginger/chocolate kisses is what they call them in New Zealand), so I'm very intrigued to try those out! There's even a giant whoopie pie cake recipe in there!

Also... Turns out that I already own that Reinventing Letterpress book. I actually added that book to my wishlist without knowing that it's the exact same book as The Little Book of Letterpress, which I already own. The inside is exactly the same, it's by the same author and everything. It just has different covers and different titles. HOW ANNOYING. So that's being sent back so that I get store credit.


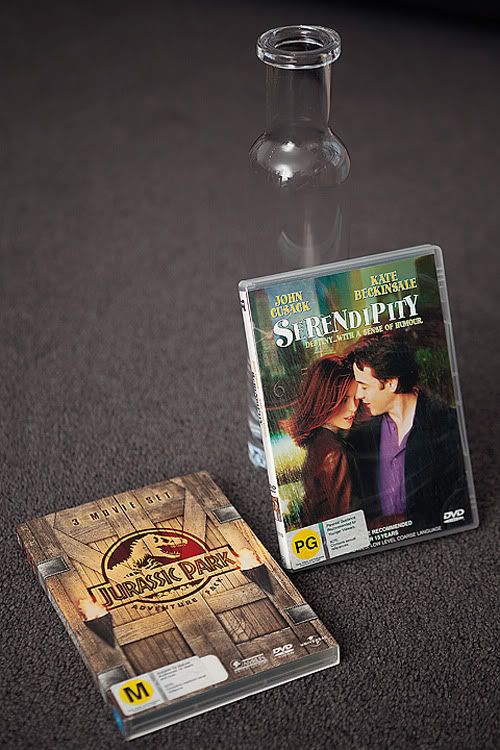
Tall vase - Hook
Jurassic Park Trilogy DVD - Carly
Serendipity DVD
- Carly

Carly also got me a ticket to the Bruno Mars concert coming up in April. YAY!

So yeah, I'm spoilt. Fantastic boyfriend and friends. Love you all!

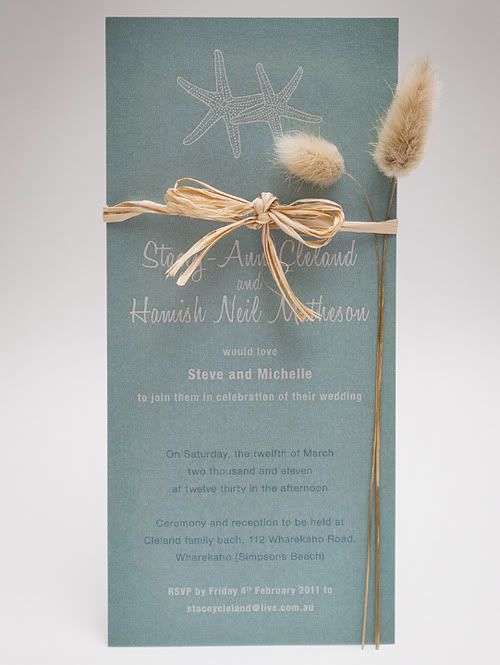
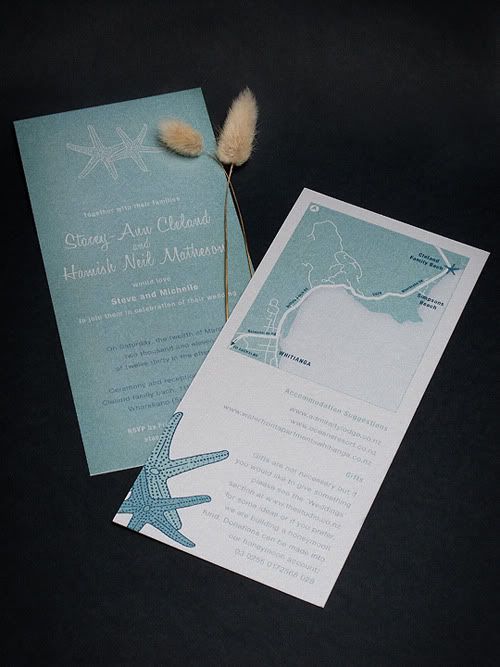
A beach bach wedding invitation.

I've finally managed to keep a blog post goal! I promised to have a wedding invite post up this weekend and here it is! ...Even if it is an hour till it's Monday.... Slowly getting the hang of this blogging business hehe.

So, shortly after Michelle (the bride who I did the passport wedding invitation for) had sent out her invitations, she started getting some great feedback. Everyone seemed to really love them and she asked me if I wanted more wedding invitation design jobs. I jumped at the chance, as I want to bulk up my portfolio.

Michelle's bridesmaid, Stacey, was getting married extremely soon and wanted a simple invitation made up asap. The wedding venue was their family bach, so naturally the theme became the beach.


The green and silver colour palette was chosen because Stacey's dress was to be silver and the bach is painted green. I complimented them with blue tint version of the green and a navy blue. Yummy!


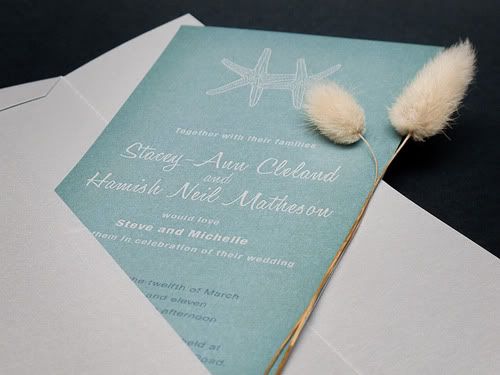
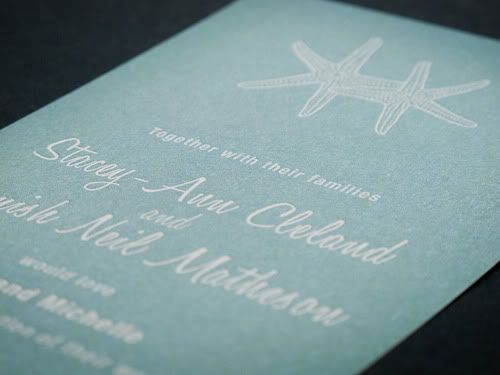
I found a silver card in Gordon Harris which worked perfectly with the green. When the green was printed over the silver it had a really gorgeous sheen to it. I paired that up with a matching silver envelope and silver washi tape to close it up (the washi tape turned out to be the exact same silver too!).


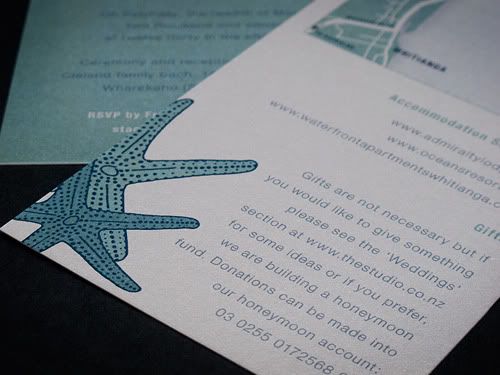
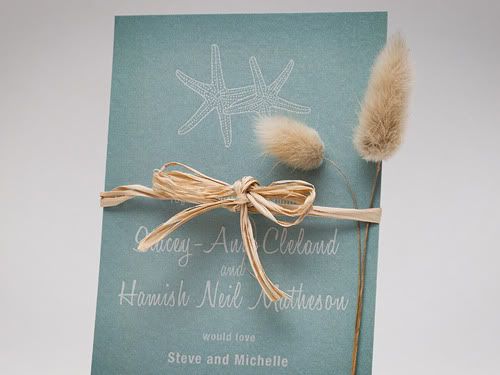
I used a pair of starfish as the main feature of the design, as they will be having starfish and shells on/around their wedding cake and as decorations.


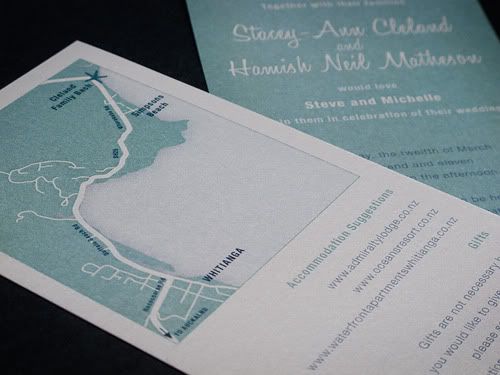
The back of the invitation I kept silver and it carried the accommodation and gift information, as well as a location map that I created. I used a little starfish to mark the spot of the venue.


Stacey sourced some bunny tail grass - such a classic NZ beach feature - and attached them to the invite with a bow of raffia. Looked really great!


It all came together quite quickly but I'm really pleased with how it turned out. I think the green colour on the silver card is what made it for me! Hope you all like it!

Happy weekend!

Thank god it's Friday! Seriously. I've been hanging out for the weekend. Work is pretty full on at the moment, and all I want to do is be at home to finish up a heap of posts that I've been slacking on. Friday also means that I have 5 days of work left before our annual trip to Melbourne! Eeee! Very excited. Going to see so many of my favourite bands! :D

This weekend my boyfriend gets back from his week away in Melbourne. He's been shooting a stop motion tv ad. Can't wait to see him! Also going to be doing some baking on Sunday probably. Even though I have left over cookie pops and macarons haha.

Hoping to have another wedding invite I designed up for you some time this weekend too! If not, it will be a post about my cookie pops!


Here's a few links for you to enjoy over the weekend...
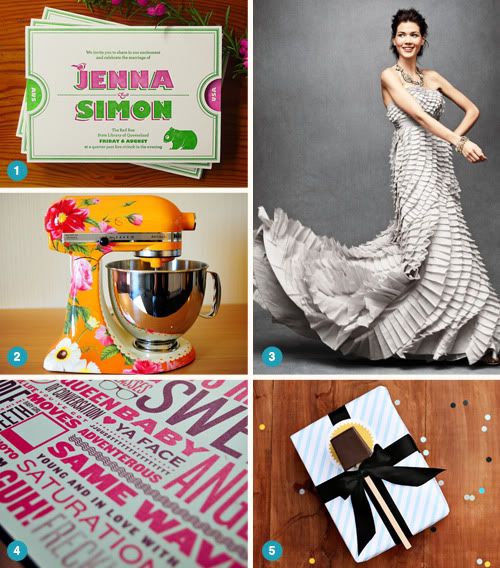
  1. Two weddings. Two continents. Two different dates. One wedding invitation.
  2. Most unique KitchenAid I've ever seen!
  3. An amazing new bridal collection
  4. Some sweet and modern valentines
  5. Wouldn't you just love to receive a personalized hot chocolate spoon?
Enjoy!

Wedding invitation obsessed!

Most people that know me are well aware that I am obsessed with weddings and invitations. So naturally I really wanted to have a go at designing a wedding invitation myself.

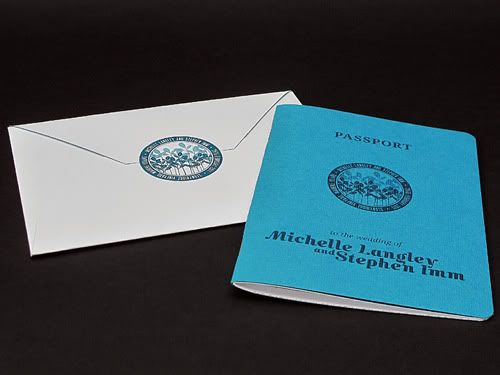
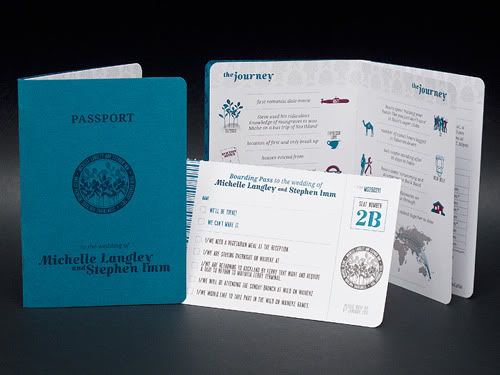
My co-worker Michelle is getting married within the next two weeks and at the end of last year I bugged her into letting me design her one. They already had a bit of an idea of the theme they wanted; their journey. After a few discussions it was decided to let their travels be part of the inspiration, so the invitation was to be a passport to their wedding.
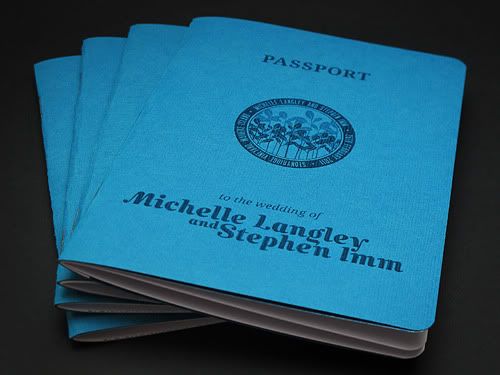


Michelle's favourite colour is teal, so the colour theme for the wedding was to revolve around teals and turquoises. She found this amazing teal card in a scrapbook store, that had a line grain texture on one side, which turned out to be perfect for the cover of the passport.
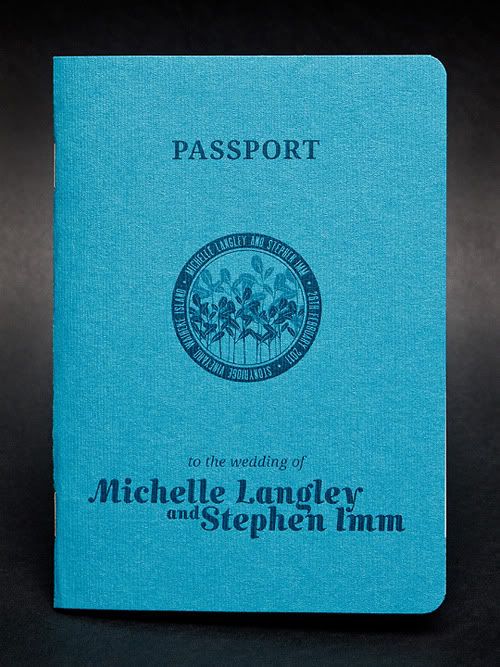


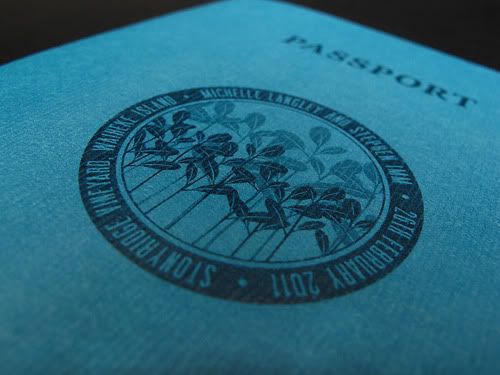
The story of how Michelle and Steve got together is a sort of on-going joke with their friends... When they first got together, Steve wowed Michelle with his vast knowledge of mangroves. Yes. Mangroves. They wanted to have a mangrove design somehow incorporated into the invitation, since that is where their journey began, so I designed a circular stamp style motif that contained Michelle's mangrove design to go on the front of the passport where the coat of arms usually goes.


We really struggled to find a nice teal envelope to match the card on the cover of the invitation, so I designed a custom envelope that we could make up ourselves, that way we could print the addresses and sender details directly onto the envelope fairly easily.


Michelle used a victorian style floral pattern on their engagement party email invites, which I've used as a pattern on the inside of the envelope. I found the closest teal I could get to match the card cover and then used a darker teal to print the pattern over top.
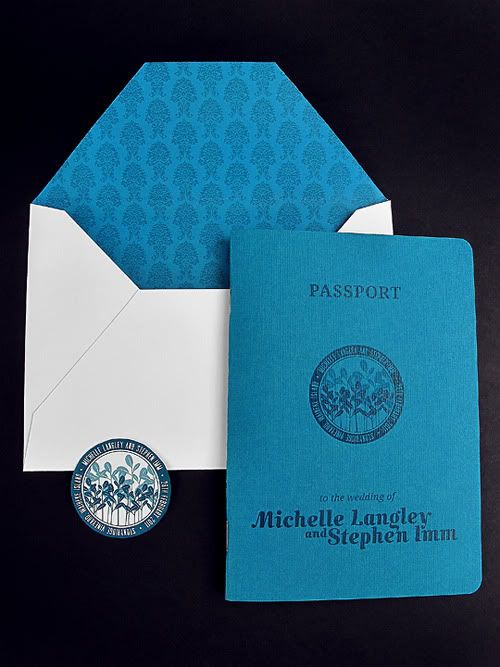


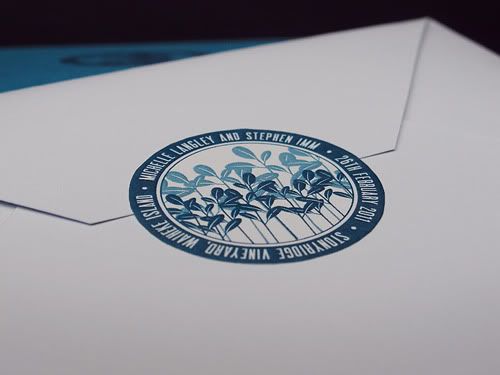
Just to make the envelope a little more interesting, using the circular motif, we made little stickers to seal the envelopes (saved us having to double sided tape everything!).

The Fiskars circle cutter is a godsend!


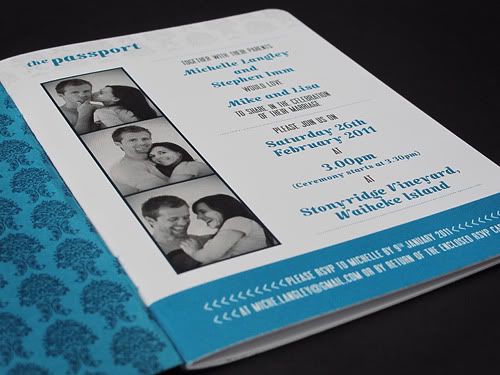
So getting to the inside of the passport...

I used that same floral pattern on the inside of the cover and as a very light background in the headings of each page.

The first page of a passport is always in a landscape format but I decided not to go with that format, due to the amount of info to go on this page. I wanted to retain the whole photo idea, so Michelle took some fantastic photos of her and Steve which I set up in a photobooth style.

They look adorable!


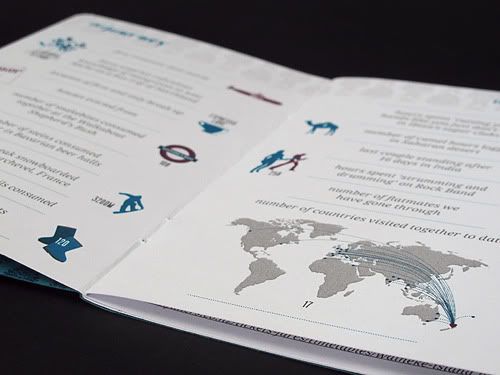
One of the more important (and fun!) parts of the invite was The Journey spread. Michelle and Steve put together a whole bunch of stats about their 10 years together including the number of parisian snails consumed, hours spent in gumboots at music festivals and first romantic date movie they saw together.

They've visited 17 countries in their travels together, wow! That deserved it's own little map to show those countries that they've been to and a little heart to show where they are now.


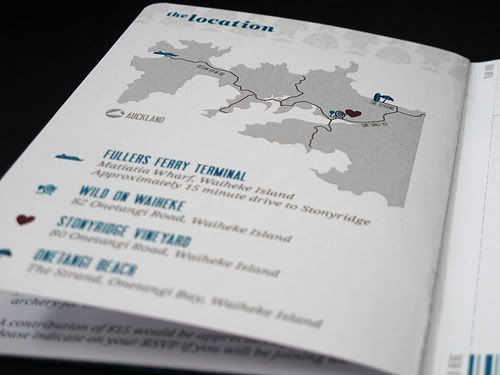
Since they are getting married on Waiheke Island, a location map was definitely needed. The guests have to ferry from Auckland to the island and either bus or taxi to the wedding venue. Also shown on the map that I designed are the locations of the beach and the venue for the brunch the following day. I used little icons to depict each place.

(There was also a spread containing all of the extra information which I haven't shown here, but it contained info about children at the wedding, gifts, accommodation suggestions, the brunch, transport and the ferry timetable.)


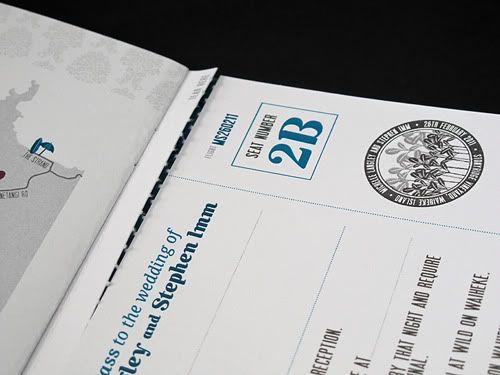
I designed the RSVP card to look like a boarding pass (to compliment the passport!) and instead of having it as a loose card that went with the invite, we decided to keep it intact with the booklet. Having just bought a perforator cutter, this decision was the best of them all.

The back of the RSVP card had the light floral patter on it, with the return address to Michelle and Steve and an area for a stamp. It was super easy to just tear down the perforation, tick the appropriate boxes, pop a stamp on it and chuck it back in the post. Loved it!


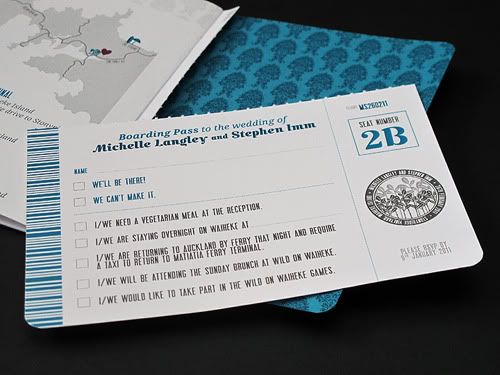
There was a fair bit of info to fit onto the card as they needed to know if people needed transport and would attend the brunch the following day and that sort of thing, but it all worked really well.

I designed a teal barcode, since all boarding passes have those, and made the flight number Michelle and Steve's initials and wedding date, MS260211.


The final result looked amazing. I was really pleased with how it turned out and Michelle and Steve loved it. Since it's been sent out they've had heaps of compliments on it, which is fantastic to hear!


So, I hope you all like it! Such a big invitation for my first wedding invitation design job but it turned out exactly how I imagined it would be. So so so pleased!
When the flowers bloom.

I am far too slow at blogging. Really need to get on top of that...

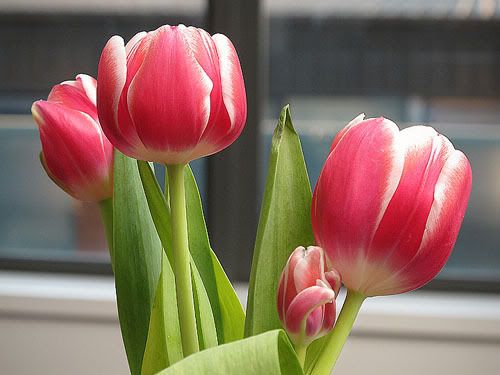
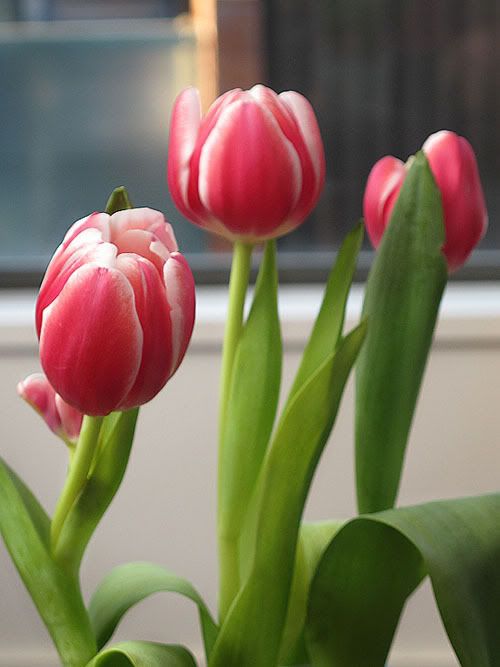
Especially since these flowers (below) died a few days ago and have since been thrown out! And I have a new bunch of flowers (compliments of my boyfriend on Valentines Day) sitting on my desk. But look at how pretty they were when they were at their prime!

I believe they are pink and white tulips. When I got them home and put them in the vase I realised that one of them had a little baby growing on it. So cute!


I intend to do more blogging tonight, or at least get the ball rolling because I have a heap of fun things to blog that I've been so slack at posting. Just need to do a bit of photo editing, then do the write-ups.

I've got a travel/journey inspired wedding invitation, a beach themed wedding invitation and a baby shower invitation to show you, all of which I designed! Hope you like them!
Also got some heart cookie pops I made for Valentines Day and my second attempt at macarons to post about! Very excited to show you guys those. I just need my boyfriend to return home so I can borrow his flash to get some better photos. :P


I sent off my third wedding invitation artwork to the letterpress place today. Can't wait to see it finished! It had some stunning calligraphy on it, all of which I will blog about when I get my final printed copy back.
As well as finishing that invite up today, I got a grommet put in my ear. A bit random, I know. Adults don't usually get glue ear but my health is so ridiculous that it decided to block my ear up. Since I will be going to Australia in 11 days I needed to get a grommet put in before the flight so that I won't be in a ludicrous amount of pain.

The entire procedure was horrible. My ENT specialist is great, but man, I was not prepared for that pain/discomfort. He said that putting the first injection of anesthetic would be the worst part, but it wasn't. When he made the incision in my ear drum it was awful. It was so hard to tell if I was in pain or if it was just major discomfort from the pressure. He tried to put the grommet in but the incision was too small so that hurt like crazy! He made the incision bigger and then got the grommet in fine. But boy, was that an ordeal. I cried. Yep. Bit of a baby... haha.
Fingers crossed it feels fine in the morning and actually helps with the equalizing on the flight. Wish me luck!

P.S. I've added a labels list down the right hand side of my blog to make it easier for people to look through particular things, like just cupcakes, or just graphic design, etc.

You are a toy, you can't fly.

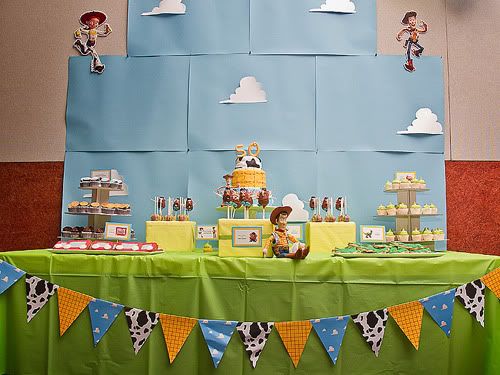
Last week/weekend I helped by awesome friend Lydia with a Toy Story Themed Dessert Table for her mum’s 50th birthday party. This is how it turned out…


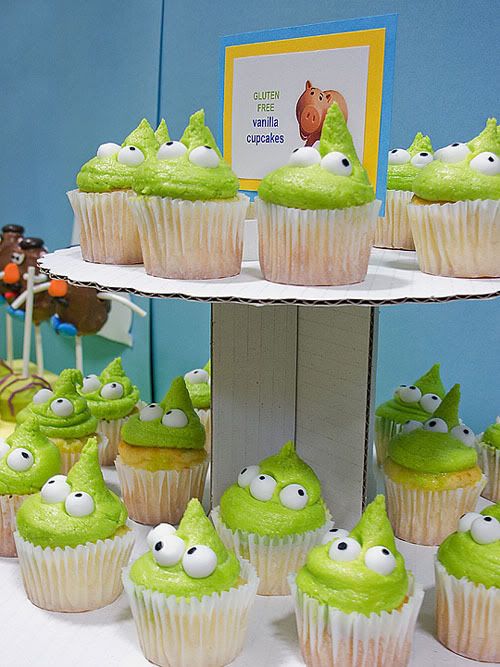
Lydia made these GF vanilla mini cupcakes, which I then piped the frosting and added the little fondant eyeballs that Lydia had made to make it look like the little alien dudes.


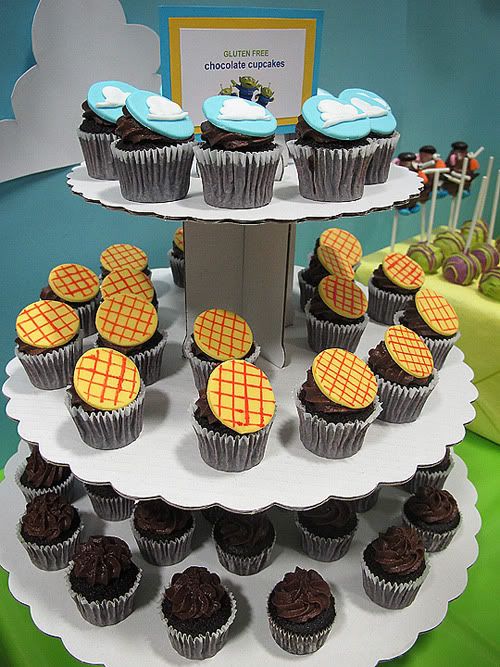
I made these GF chocolate mini cupcakes. Lydia made the chocolate buttercream frosting which I piped and added on her fondant decorations.


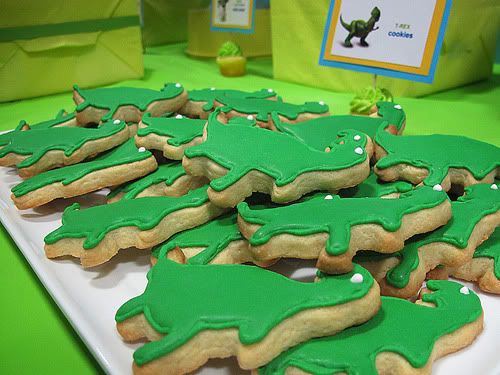
I made these vanilla sugar cookies and iced them to look like Rex!


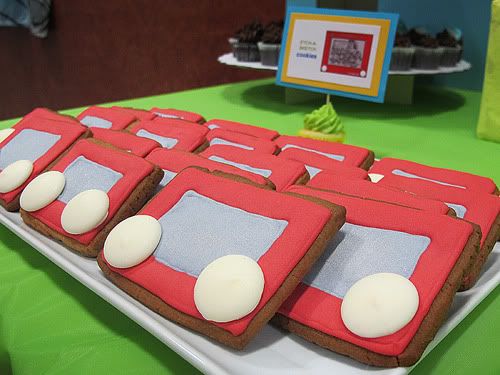
I made these rectangular gingerbread cookies with Lydia iced to be Etch-A-Sketch cookies! Super cute.


It was fun but boy are full dessert tables a LOT of work. I don't know how Lydia coped doing the cake and the cake pops by herself!

You can check out Lydia's post about the two lots of cupcakes here.

Flowers!

One of my favourite bloggers, Rachel of Heart of Light, does a Friday Flowers post every week and it inspired me to do something similar. I'm a little to crap at keeping up to date with things so my flowers posts won't be on any particular days, just randomly, when I feel like it, when I've got some flowers to show.

For Christmas I got two awesome vases (because I asked for them haha!) so I plan on utilising them as much as I can.

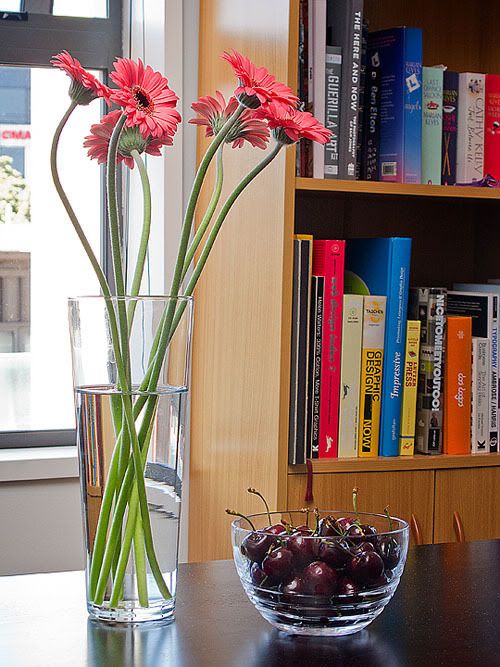
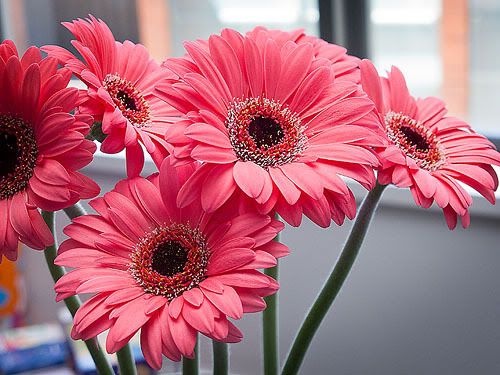
The first flowers I decided to get were of course, my favourite flower, the gerbera. I went with some pretty pink ones and they were super cute!


I did however make the mistake of trimming the stems after a few days, which led them to droop and the stems seemed to disintegrate. Not sure why but I won't be trimming stems ever again. Lesson learnt!


So glad I got some vases. Flowers make me cheerful! :P